Posts in process
Recycling Tin Tulips

The workshop has been full of tiny, sharp bits of tin lately. Reason being that I’ve been busy recycling tin to make flowers. I’ve become a bit of a magpie for brightly coloured tins, chiefly biscuit and sardine but I also found a fabulous green olive oil tin which has been put to good use. Its great to be able to repurpose metal but it does mean endless sharp edges so endless filing to get rid of them. The final artwork needs to be smooth so it doesn’t cause unfortunate accidents! It also needs to be smooth so I can work it into the shapes I need without constantly nicking and scratching myself. Some skin damage is almost inevitable so I have a box of plasters on hand. I also spend a good deal of time with the washing up bowl getting the tins nice and clean - especially the sardine tins!

What a fiddly job this is! But I really love it when those scraps of tin come together and make something completely new. I used the old olive oil tin to make the tulip leaves and the biscuit tin to make the petals. The original shapes of the paper petal templates look something like propellers but when they’re put together and formed into a 3D flower they lose that machined-aeronautical look altogether. The tulip heads have a centre hole drilled so I can attach a brass stem which is knotted to keep everything in place.

Tiptoe Through the Tulips

I hope this video gives you a good idea of the final automata. My photo history has completely missed out making the base of the piece and fiddling around with the cams. That’s for another day. But I did want to share where my love of tulips came from. The book in the background is Oscar Fabres’ Kwik and Kwak. My granny had this book, it was given as a Christmas present to my mum and aunty in 1945. It was the heirloom I wanted most from my granny’s house. Kwik and Kwak is a charming picture book which tells the tale of two little Dutch ducks who live a peaceful life cycling through the tulip fields of Holland (ducks on bicycles?). I loved those pictures of tulip fields, pretty Dutch houses and fishing boats. Still do. Inevitably, for the time the book was written, the story takes a darker turn but all ends well in the end and I hang on to the early depictions of peace and tulips in rural Holland. They’ll always be my favourite flowers!

Valentine's Time of Year!

Phew! January is in the bag and lighter days with spring bulbs are making an appearance.

As a jeweller its impossible to welcome February in without thinking of St Valentine’s Day. Such a problematic festival. All very well if you’re loved up but awful if you’re in the throws of unrequited love!

I did a bit of research to figure out where all this forced romance comes from. I’d been under the impression that its one of the Christian festivals that was tagged on to a much older Pagan rite. I expected to read about boxing spring hares, fertility rites and ‘Wicker Man’ style shenanigans. It turns out there are possible links to the ancient Roman festival of Lupercalia which occurred in mid February. But it seems any link to St Valentines Day is tenuous. Lupercalia was rooted with an order of monks called the Luperci, so named because of their connections to Romulus and Remus and their wolf mother. The story itself is wild, involving animal sacrifice, blood and fertility rites. Good old Romans! Its a far cry from the hearts and flowers of our familiar St Valentine’s Day but may provide inspiration for a wolfie automata in the future…

So who was St Valentine? Again, there are different stories and at least 3 different Christian Saints named Valentine - all martyred! The one we’re probably after was put to death by Roman Emperor Claudius II when he was caught illicitly marrying young couples. The problem was that only single men could be drafted into the Roman army so a hasty marriage was often sought to avoid the ravages of a soldier’s life. Charming old Claudius outlawed marriage for young men and good old Saint Valentine took pity and did the honours in secret. His reward was to be put to death, poor chap.

Whatever the roots of this festival of romance its very much part of our culture now which makes it the perfect time to share a pictorial explanation of romantic automata making.

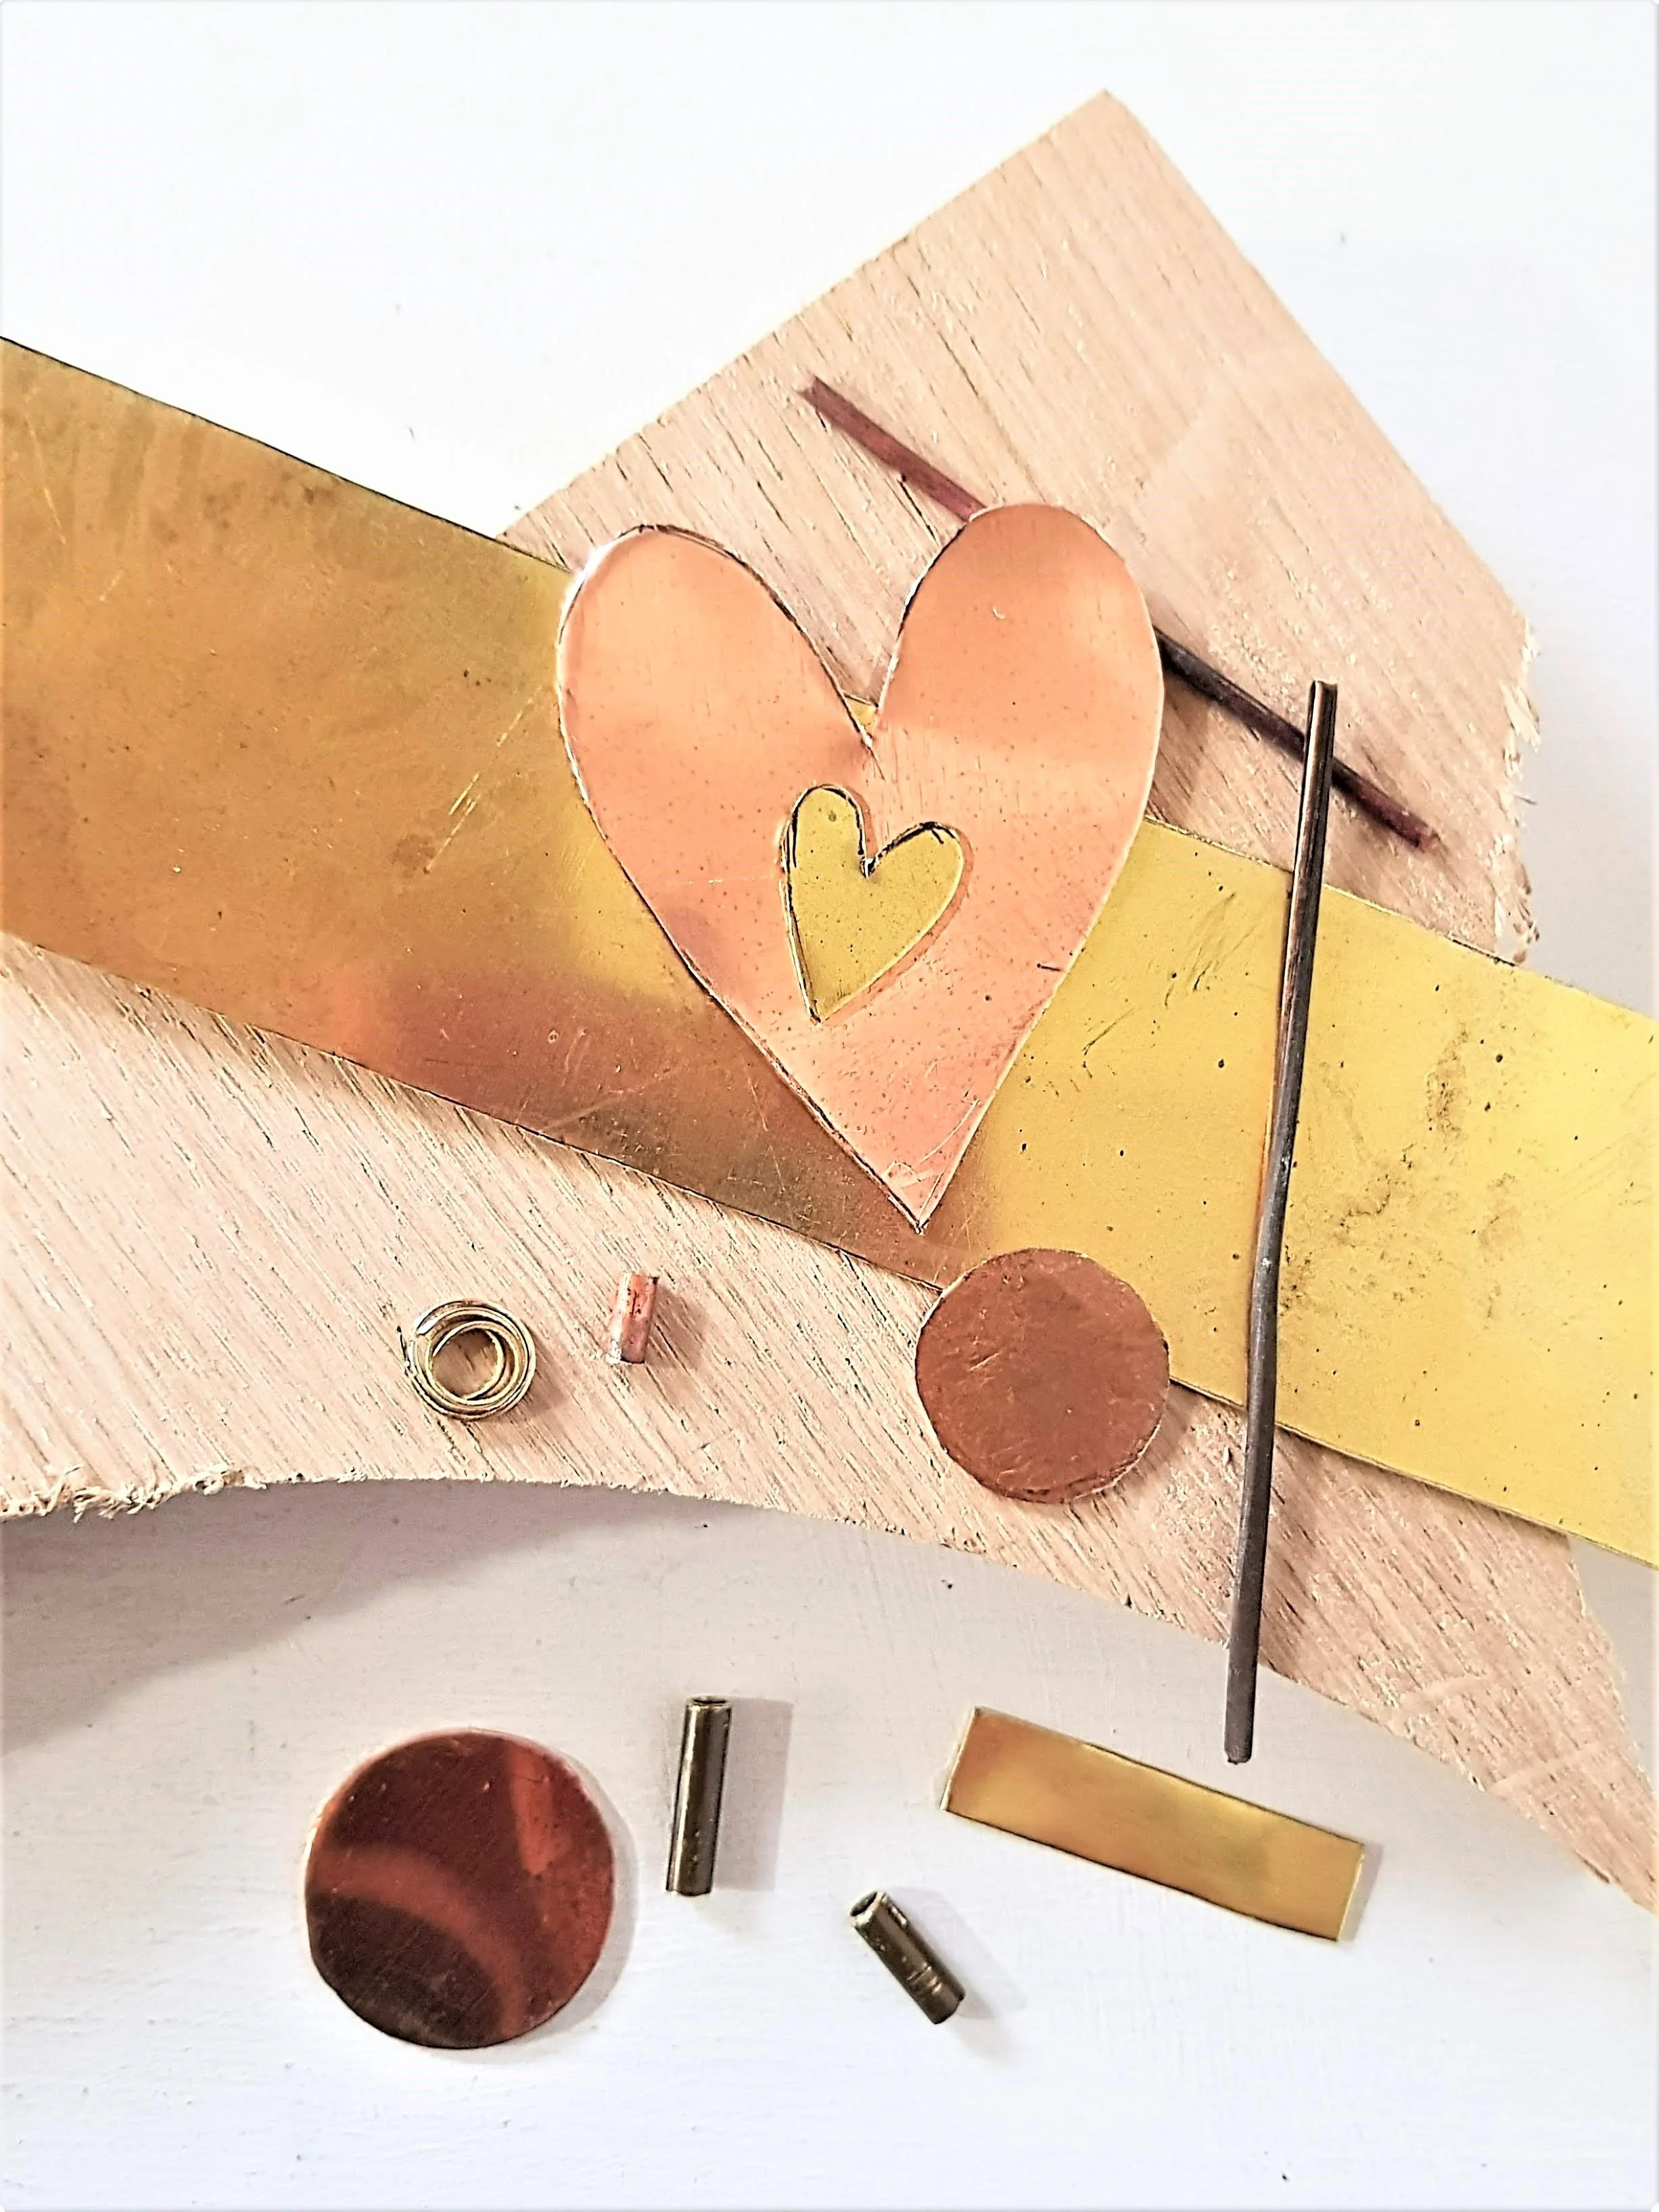
This heart inspired automata was one of my earliest designs. It's cut out of sheet copper and brass, with bits of tube and wire. The whole lot is heat treated, soldered and formed into an open box with a revolving heart (oh yes, be still my beating heart!) The base is an offcut of oak reclaimed from a local woodworking business (more on that another time). The brass box is treated with copper nitrate to give a dark base to a top layer of golden leaf. The mechanism is made of a cam cut from copper and soldered to the central winding tube. The cam sits below a follower, also made from a disc of copper. The movement relies on plain old friction to spin the heart around.

I also made a slightly different version based on an old childhood favourite - the Loveheart. Might be making more of these. Any ideas for text? I seem to remember ‘Oh Boy’ as well as the usual ‘Kiss Me’ and ‘Be Mine’. Did you know that Lovehearts now have emojis on them? Oh how times change!


What's on the Work Bench?

Following a photoshoot with John Hersey I now have a beautiful collection of new photos of my work. John also took photos of my hands and tools as he got excited by the opportunities offered in my tiny workshop. The photos were taken just as the light was going down on what had been a bright November day in 2021. John was keen to capture the light as it was offered, so the photos are rich in chiaroscuro (strong contrast in light and dark as seen in the paintings of Caravaggio!). I hope you’ll agree that the photos are beautiful works of art in themselves.

hammering a centre point on copper

hammering a centre point on copper

One photograph shows the frequent process of hammering a centre point into metal prior to drilling a tiny hole. The hole could represent an eye on a character like a whale or it could be an entry way into the metal so that I can use a fret saw to cut a more complicated shape. Either way, I have been using the same centre punch and hammer since 1990. That’s the wonderful thing about the traditional metal working techniques I use, the tools are truly lifelong friends.


I felt an affinity with metal from the first time I tried silver soldering as a teenager. My mum is a potter and back when I lived at home I would often help her out at craft fairs. On one occasion she introduced me to one of her jeweller friends who showed me how to solder two bits of silver together. It seemed like magic then and still does. I love the fact that many of the tools I use today could have been used by our ancestors in the middle ages, or a similar version could have been used as far back as the iron age. There is a warmth and a humanity to hand tools that comes from repeated use, wearing the wooden handles into the shape of the maker’s grip.

waxing the sawblade
 

Another photo captures me using a block of bees wax to ensure the tiny saw blades I use in the fret saw run smoothly to cut more intricate patterns into sheet metal. I can’t think how many of these saw blades I’ve burnt through over the years - they have a horrible habit of going ‘ping’ just at the wrong moment, there then follows a quick scurry around the workbench to find another.

People often assume there is a high tech option to cut copper into the tiny shapes and patterns that I use. If anyone knows of any that work then please let me know - I’m told that laser cutting copper is impossible because its so heat conductive that it seals itself right back up again - genius metal! However, I have to say that I really do enjoy the hands on approach. It ensures that every piece is entirely unique and adds that all important human quality that can’t be achieved any other way. So I will carry on using my fret saw, my snips and my decades old hammers to make my work.

Workshop Update

Its been a while since I’ve added to my blog, apologies for the absence but its been for good reason. I’ve been busy working on new pieces and planning new strategies for my little micro business. You may need to bear with me whilst I organise a few changes to the website.

With the support of Cultivator Cornwall I’ve been working on a short film with film maker Florence Browne. We managed to choose a stunning day of autumn sunshine to film in my workshop and local area. Can’t wait to see the results - fingers crossed I can share the final cut on my website very soon.

On top of that I’m also making pieces for a photoshoot with fabulous photographer John Hersey. I’ll have a whole new collection of images to share with you in the not too distant future.

All these plans have got me thinking about what I do and why I do it. I’ve made an early new years resolution (yes - very early!) so I can share this with you on my blog. I’m planning on focusing on behind the scenes stories from the workshop. I do this already on Facebook and Instagram but I’ll be able to give you more detail here. Keep an eye out - you might just learn something!

Before I forget I should also let you know that I’m only doing one live Christmas event this year. I’ll be in Deveron village hall in Cornwall for Creek Arts Christmas Fair on December 4th. Hope you can make it along!

Meanwhile, orders and bespoke commissions continue coming in on the run up to Christmas. There’s a definite change in shopping habits going on with many people planning well ahead of the big day. Its gratifying to note that small businesses are being well supported in these tricky times so this is a good time to say a huge THANK YOU to all of you for showing an interest in my work. I really appreciate you reading this blog, browsing my website, following me on Instagram or Facebook (@esthersmithartist) and, of course, adding my pieces to your personal collection or your Christmas list!

Thanks for reading!